How to import brushes into Procreate
Install a .brushset from Files, find it in your Brush Library, and fix the common ZIP and download mix-ups.
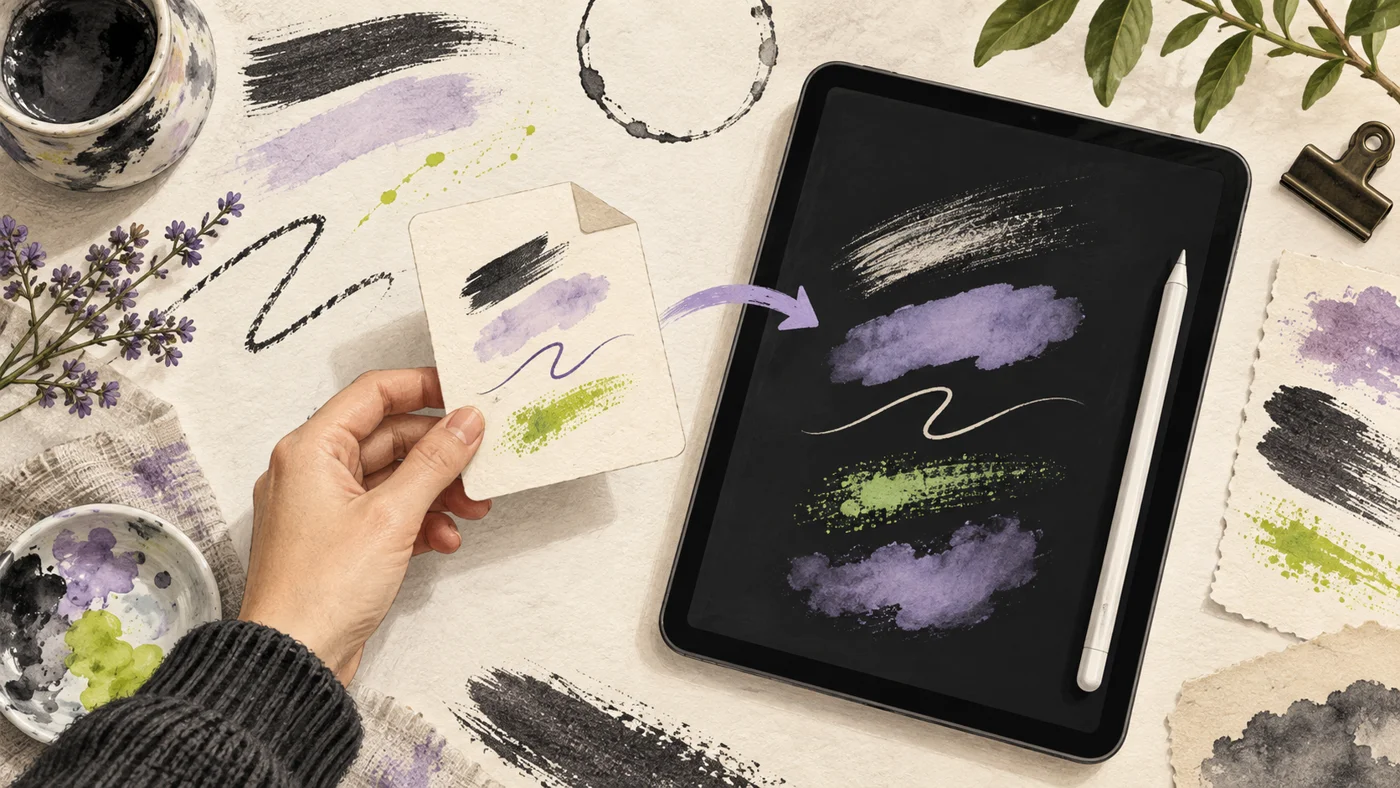
A brush download is a file you import into your Brush Library. Save a copy in Files first so you can reinstall it later without finding the original link. These steps are for Procreate on iPad; menu labels can differ between versions.
Download the actual brush file
Choose a .brushset for a set of brushes or .brush for an individual brush. Procreate also supports .brushlibrary and Adobe Photoshop .abr imports. A preview image is not a brush file.
If your download ends in .zip, tap the ZIP in Apple Files to extract it, then look inside for the brush file. Leave .brushset files packaged: they are ready to import as they are.
Import from Files or the Brush Library
- Open Files on your iPad and locate the downloaded brush file. Wait for any cloud download to finish.
- Tap the .brushset or .brush file. If Procreate does not open automatically, touch and hold the file, choose Share, then choose Procreate if it is available.
- Alternatively, open Procreate’s Brush Library and use its Import option to select the file in Files.
- Look through the Brush Library for the imported set. Make a test stroke on a new layer before editing its settings.
If the brush is missing or looks wrong
Check the file extension and size in Files. A tiny HTML document saved from a login page is not a valid brush. Download the file again if it is incomplete.
Try a midtone color on a blank layer at normal opacity. A white brush on a white canvas or a textured brush at very small size can appear invisible. Some brushes respond strongly to pressure or tilt; compare light and firm strokes before changing settings.
Keep the original download. Duplicate a brush before experimenting in Brush Studio so you have an easy way back.
Start with one set
A smaller library is easier to learn. Try one line, one broad shape and one shaded edge with a new brush, then decide where it belongs in your workflow. There is no need to install every set at once.
References
Technical instructions are checked against these official resources. Interface wording may vary with your app version.
Featured images are illustrative artwork, not screenshots of Procreate.
Keep exploring on iPad
Find more resources in Brushes for Procreate+.
View the app ↗