How to add a paper texture in Procreate
Place a texture on its own layer, compare blend modes, and keep grain from flattening your illustration.
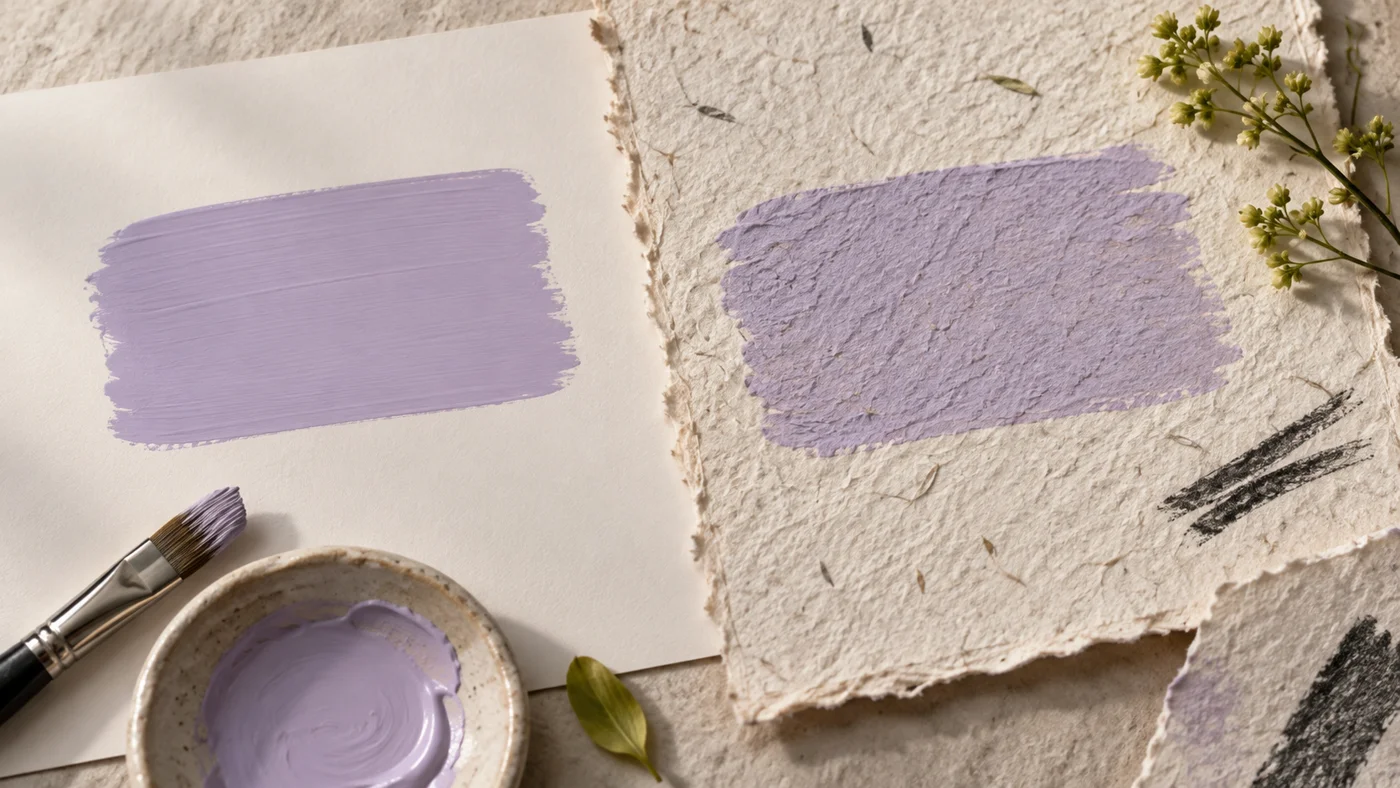
A paper texture can give a clean digital drawing a more tactile surface. The useful choice is how much of it to show: grain should support the drawing, not make every shadow darker or every highlight muddy.
Insert the texture on a separate layer
- Download the texture image to Files. Extract it first if the download is a ZIP.
- Open your drawing in Procreate and choose Actions → Add → Insert a file. Select the image.
- Position and scale the texture to cover the canvas. Avoid enlarging a small image much beyond its original resolution.
- Keep the texture on a separate layer above your artwork so you can change or remove it later.
Compare blend modes before adjusting opacity
For a light paper image with darker grain, try Multiply: light areas have less effect while dark marks influence the artwork below. This often darkens the drawing, so reduce opacity and compare carefully.
For a texture centered around mid-gray, try Overlay or Soft Light. Their effect depends on both the texture and the underlying color. They are starting points, not universal settings. A texture with a strong color cast may tint the whole piece.
Judge it at two sizes
At 100% zoom, check whether the grain looks crisp enough and whether a scaled texture shows obvious pixels. Zoom out to the size at which people will view the work: the texture should not overwhelm facial features, fine lettering or other important details.
Toggle the texture layer off and on. If the image only looks more gray, try less opacity or a different source texture. Preserve clean highlights when those highlights carry the lighting.
Check the export
Export a test image and reopen it. Inspect both a dark area and a pale area. Keep the layered Procreate document as your working file so you can change the texture without repainting the illustration.
Texture downloads have their own licenses. Check the permitted use before including a texture in a client deliverable or redistributing the original file.
References
Technical instructions are checked against these official resources. Interface wording may vary with your app version.
Featured images are illustrative artwork, not screenshots of Procreate.
Keep exploring on iPad
Find more resources in Brushes for Procreate+.
View the app ↗